Key Takeaways
- Achieving deep black color at home requires two separate steps, not a single mixed application.
- The shade you get depends heavily on your starting hair color, porosity, and how long you leave each step on.
- Indigo powder must be used fresh and applied quickly after mixing, or it loses its coloring strength.
- Gray hair takes both henna and indigo more vividly than naturally dark hair.
- Skipping the henna base will give you brown or greenish tones, not black.
- Results may vary from person to person, and no specific outcome can be guaranteed.
The first time I tried dyeing my hair black at home, I ended up with a reddish-brown tone that lingered for weeks. It was far from the black I had hoped for, and I later understood why. It took me several more attempts, a lot of patience, and some very honest conversations with my own hair to understand what was actually happening during this process.
What I eventually learned changed everything. The natural, homemade black hair dye method using henna and indigo is not one step. It is two separate steps performed in sequence. The order matters. The timing matters. The ratio of indigo to water matters. And perhaps most importantly, your hair’s starting condition matters more than almost anything else.
This article is a detailed guide to everything I now know about making and applying this dye at home. I am sharing ingredient amounts, preparation steps, timing, what to expect on different hair types, mistakes that are easy to make, and a few tips that genuinely improved my results. None of this is medical advice, and individual results will differ based on your unique hair texture and history.
Why Henna and Indigo Work Together for Black Color
Henna on its own gives hair a warm reddish-orange tone. Indigo on its own gives a bluish-green tone that does not sit well on undyed hair. But when henna is applied first and given time to bind with the hair shaft, it creates a warm orange base that indigo then binds to. The combination of that warm orange and the cool blue-green of indigo produces a deep brown to near-black result, depending on timing and your starting hair color.
This is the chemistry at the core of every natural black dye recipe using these two plants. The henna step is not optional for black results. It is the foundation on which everything else is built.
What You Need Before Starting
Before preparing anything, gather the following. These amounts are for shoulder-length hair. Adjust up or down based on your hair volume.
For the henna step:
- 100 grams of pure henna powder (Lawsonia inermis)
- Enough warm water to make a smooth, yogurt-like paste (roughly 150 to 200 ml)
- One tablespoon of apple cider vinegar or lemon juice (helps release the dye)
- One tablespoon of coconut oil (optional, for added conditioning)
For the indigo step:
- 100 grams of pure indigo powder (Indigofera tinctoria)
- Enough warm water to make a smooth paste (roughly 100 to 150 ml)
- A small pinch of salt (helps the dye bind more effectively)
You will also need:
- Gloves (both pairs, one for each step)
- An old towel or cape
- A wide-tooth comb
- A non-metallic bowl for mixing
- Plastic wrap or a shower cap
- A timer
Step One: Preparing and Applying the Henna Base
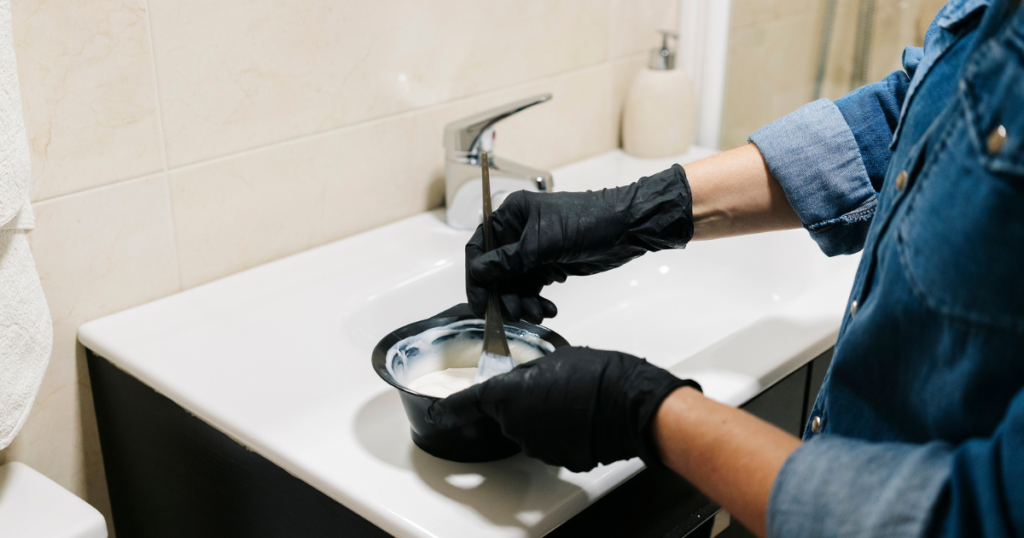
Mix 100 grams of henna powder with warm water a little at a time, stirring until you reach a smooth consistency with no lumps. It should look like a thick, spreadable paste, not too runny and not too stiff. Add your apple cider vinegar or lemon juice now. This lowers the pH and encourages dye release.
Cover the bowl with plastic wrap and leave it at room temperature for at least six to eight hours, or overnight. This resting period allows the dye molecule in henna, called lawsone, to release into the paste fully. Do not skip this step. Henna that has not rested will give a much weaker color result.
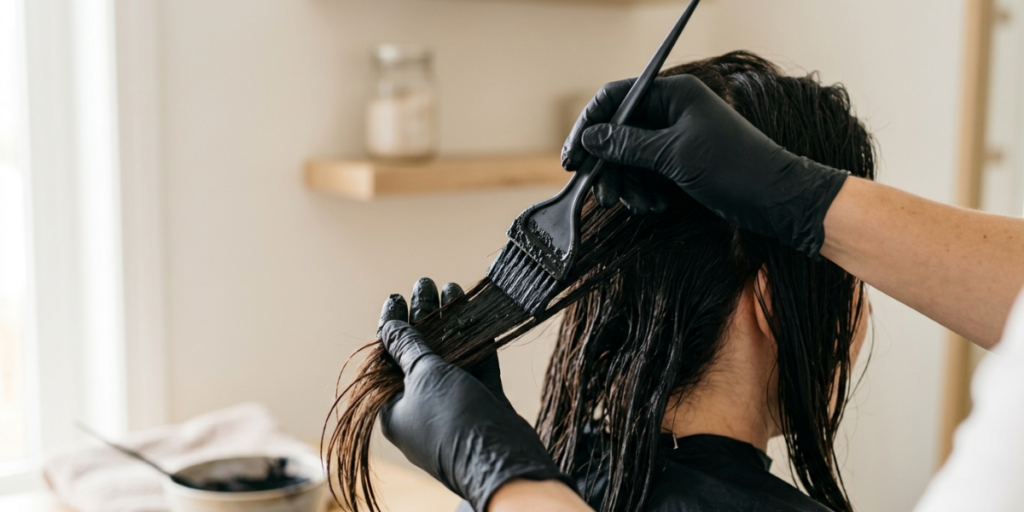
When ready to apply, put on your gloves and section your hair into four parts, two at the front and two at the back. Work methodically from root to tip on each section, coating every strand fully. Pay extra attention to the hairline and any areas with gray.
Once fully applied, cover your hair with a shower cap or plastic wrap. Leave the henna on for a minimum of two hours. For a deeper reddish color as a base, or for stubborn gray coverage, three to four hours is better. Do not leave it longer than four hours as a general guideline, and be aware that results vary.
Rinse thoroughly with plain water only. Do not use shampoo at this stage. The henna needs to stay on the hair shaft without being stripped. Rinse until the water runs clear, then gently towel dry without rubbing.
You may now either apply the indigo immediately while the hair is still slightly damp, or wait up to 24 hours. In my experience, applying the indigo within one to two hours of rinsing the henna seemed to support deeper color, possibly because the hair cuticle may still be more open and receptive at that point.
Step Two: Preparing and Applying the Indigo
Unlike henna, indigo paste must be prepared fresh and used immediately. This is not a paste you can rest overnight. Indigo loses its dye strength within 15 to 20 minutes of mixing. This is one of the most important things to understand before you begin.
Mix 100 grams of indigo powder with warm water, again adding it gradually and stirring until smooth. Add a pinch of salt and mix again. The paste should feel similar in consistency to the henna paste. Do not add acidic ingredients like lemon juice or vinegar to the indigo. Acid weakens indigo’s ability to bind and can give uneven results.
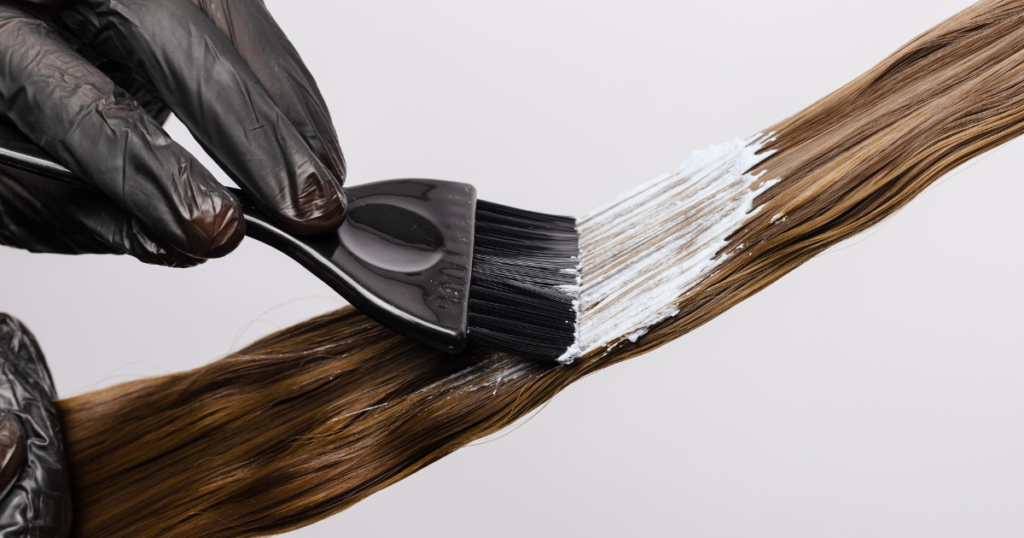
Apply the indigo paste immediately after mixing, using the same sectioning method as before. Coat each section from root to tip, ensuring full and even coverage. Work quickly but thoroughly.
Once applied, cover with a shower cap or plastic wrap. For deep brown results, leave the indigo on for 45 minutes to one hour. For near-black results, leave it on for one to two hours. For the deepest black possible, some people leave it on for up to three hours, though sensitivity varies and longer contact time should be approached with care, especially for a first attempt.
Rinse with plain water only. No shampoo for at least 24 to 48 hours after your indigo step. The color will continue to oxidize and deepen during this window. What looks like a dark blue-black initially may shift to a richer, warmer black over the next day or two.
What Shade to Expect on Different Hair Types
On naturally white or light gray hair: This is where henna and indigo give the most dramatic and vivid results. The henna step will show a clear warm orange on gray strands, and the indigo step can produce a near-true black. If your hair is mostly white or gray, this process may give you the deepest color payoff of any hair type.
On medium brown or dark brown hair: The henna will add warm reddish tones to your existing color. After indigo, you may see a rich dark brown that reads as almost black in low light, but in bright sunlight may show warm reddish or chocolate undertones. Repeat applications (every four to six weeks) tend to build and deepen the shade over time.
On naturally black hair: The color shift will be subtle. You may notice added depth, gloss, and a slightly richer tone, but a visible color change is unlikely. This combination works more as a conditioning and strengthening treatment on already black hair.
On fine or porous hair: Fine hair tends to absorb both henna and indigo more quickly, so color can develop faster and sometimes more unevenly. Reducing your processing time by 20 to 30 minutes from the recommended range is a sensible starting point for a first attempt.
On coarse or low-porosity hair: Coarse hair may need the maximum recommended processing time to achieve good coverage. Some people with low-porosity hair also find that warming the hair gently with a towel or sitting in a warm room during processing helps the color penetrate better.
Mistakes That Reduce Your Black Color Results
Mixing henna and indigo in one step: This is the most common mistake. When the two powders are mixed simultaneously, they neutralize each other’s most effective qualities. The result is typically a brown or auburn shade, not black. The two-step process is not just a suggestion. It is the reason the black color works at all.
Using old or improperly stored powder: Both henna and indigo are sensitive to heat, moisture, and air. Powder that has been stored in a warm or humid environment, or left open, may have lost much of its coloring strength before you even begin. Always buy from reliable sources and store in airtight containers in a cool, dry place.
Adding lemon juice or vinegar to the indigo: Acid helps henna release its dye. It does the opposite for indigo. Adding acid to indigo paste can cause patchy, uneven, or weak color. Keep the indigo paste simple: powder, warm water, and a pinch of salt.
Applying indigo to completely dry hair: The indigo paste penetrates more evenly when hair is slightly damp. Bone-dry hair can create uneven patches, especially around the hairline and ends. After rinsing the henna step, leave your hair slightly damp before beginning the indigo application.
Washing with shampoo too soon: Shampooing within the first 24 hours after the indigo step strips the color before it has had the chance to fully oxidize. The near-black tone you want is still developing during this window. Rinsing with plain water is fine if needed, but hold off on shampoo for at least 48 hours if possible.
Uneven sectioning: Applying either paste in large unsectioned chunks leads to areas where the color does not fully coat the hair, resulting in patchy coverage. Taking time to section carefully and coat each section from root to tip makes a visible difference in how even the final result looks.
Tips That Can Improve Black Color Coverage Naturally
Do a strand test first: Take a few strands from a hair brush or clip a small section from a less visible area. Apply both the henna and indigo steps in miniature and observe the result. This tells you how your specific hair will respond before you commit to a full application.
Build depth through repeat applications: A single application, especially on darker starting hair, may not give you the full black you are hoping for. Many people find that their second or third application, done every four to six weeks, gives progressively deeper and more even results as the dye builds layer by layer.
Oil your hairline before applying: Apply a thin layer of coconut oil or any plain oil around your hairline, ears, and neck before starting. Both henna and indigo can temporarily stain skin, and the oil acts as a barrier that makes cleanup much easier.
Keep the paste warm during application: Both henna and indigo work better when the paste stays at a comfortable warm temperature. If the paste cools significantly during application, it may not bind as effectively. Working in a warm room or wrapping a warm towel around your covered head can help maintain temperature and may support better color development.
Stay consistent with your hair care after dyeing: Sulfate-heavy shampoos can strip natural dye faster than gentle or sulfate-free formulas. Switching to a milder shampoo after using henna and indigo can help your color last longer between applications. Plain conditioning with coconut oil or a natural hair mask in the weeks following dyeing can also help the color appear richer.
Final Takeaway
I still remember the first time it actually worked. After a few failed attempts, one very patient afternoon, and a kitchen that smelled like a garden, I looked in the mirror and saw dark, rich, genuinely black hair looking back at me. It was not the result of a shortcut or a single magic ingredient. It was the result of understanding that the process itself is the point.
There is something quietly satisfying about mixing something in your own kitchen and watching it work with your hair over time rather than on it. This method does not guarantee perfection in one sitting, and results will differ from person to person. But for those willing to learn their own hair and give the process a fair chance, what comes back is often more than just color.
Try This Today
Before committing to a full application, mix half a teaspoon of each powder separately into small paste portions and apply them in sequence to a few strands from your hairbrush. Let them sit, rinse, and observe the result after 24 hours. This one small test can tell you more about how your specific hair will respond than any guide can predict.
Frequently Asked Questions
Can I mix henna and indigo to save time?
Mixing them produces brown or auburn tones, not black. The two-step method is what creates the chemical interaction that makes black possible. If time is a concern, some people do the henna step in the evening and the indigo step the following morning, which is a reasonable workaround.
How long does the color from henna and indigo last?
Results vary depending on hair porosity, how frequently you wash your hair, and the products you use. Generally, this natural color may last four to eight weeks before noticeable fading begins. Because it fades gradually and naturally, there are no harsh regrowth lines. Repeat applications help build and maintain the depth.
Is this safe for chemically treated or bleached hair?
Henna and indigo can be applied to hair that has been chemically colored in the past, but the interaction can sometimes be unpredictable. If your hair has been bleached, the high porosity may cause the color to absorb very quickly and unevenly. A thorough strand test before full application is strongly recommended in this case.
Will it cover grays completely?
Gray coverage depends on the percentage of gray in your hair and how long you leave each step on. For hair that is mostly gray or white, coverage can be quite thorough and may approach a natural-looking black. For hair that is partially gray with a mix of darker strands, coverage may be more selective, with the gray strands absorbing the deepest color and the darker strands absorbing less.
Can I leave indigo on overnight for a deeper black?
Leaving indigo on for extended periods is not generally recommended, particularly for first-time users. Sensitivity to plant-based dyes varies, and prolonged contact increases the chance of scalp irritation. Starting with one to two hours and adjusting based on your results is a more cautious approach. Always do a patch test on the inside of your wrist or elbow before any full application to check for sensitivity.

- How to Dye Your Hair Purple at Home (and Actually Keep the Color) - June 22, 2026
- Cool Hair Dye Ideas for Short Hair That Actually Look Stunning - June 11, 2026
- Cool Hair Dye Ideas That Actually Suit Real Life and Real Hair - June 9, 2026