Key Takeaways
- Black dye lifts far more easily in the first few minutes, so speed often matters more than the cleaner you choose.
- Different surfaces respond to different pantry ingredients, so it helps to match the cleaner to the spot.
- Always test a hidden corner first, since some finishes react poorly to acids or solvents.
- Gentle, repeated passes tend to work better and stay safer than one harsh scrub.
- Good airflow and never mixing cleaners keep the whole cleanup calm and safe.
Standing in a Bathroom Splashed With Black Dye
I still remember the moment I turned around and saw black hair dye streaked across the sink, dripping down the side of the tub, dotted over the floor tiles, and smeared along one edge of the counter. Black is the shade that frightened me most, because it clings to almost everything and seems to darken the longer you stare at it.
What I want to share here is not a lecture, just the calm ingredient approach that helped me bring each surface back. None of it needs anything fancy, and most of it already lives in a kitchen cupboard. I cannot promise a spotless result on every finish, since surfaces and dyes differ, but I can walk you through what gave me the gentlest, most reliable progress.
Take a breath first. A splattered bathroom looks far worse than it is, and panic tends to lead to harsh scrubbing that can dull a finish. Slow, patient passes did much more for me than force ever did.
Why the First Few Minutes Matter Most
Fresh dye sits on top of a surface. As it dries, it begins to soak into tiny pores and settle into grout lines, and that is when a wipeable smudge turns into a stubborn shadow.
So before reaching for any cleaner, I blot the wet dye with a dry paper towel, pressing rather than wiping, so I lift it instead of spreading it.
After blotting, a quick rinse with cool water on the worst splashes keeps the dye loose. I save the scrubbing for after the loose layer is gone.
Pulling on a pair of gloves early also helps, because black dye stains skin just as happily as it stains porcelain.
If you cannot reach every spot at once, start with the smooth, glossy areas like the sink and tub, since those release dye most easily while it is still fresh.
The textured floor and grout can wait a few minutes longer.
Removing Black Dye From a Porcelain or Ceramic Sink
The sink was my worst spot, and it turned out to be one of the most forgiving. I made a soft paste of baking soda and a little water, roughly the texture of toothpaste, and spread it over the stained areas.
I let it rest for a few minutes, then rubbed gently in small circles with a damp cloth. Baking soda is only mildly abrasive, so it loosens the dye without scratching glazed porcelain the way a rough scouring pad might.
Where a grey shadow lingered, I dipped a cloth in hydrogen peroxide and laid it over the mark for several minutes before wiping.
Lifting Black Hair Dye From the Bathtub
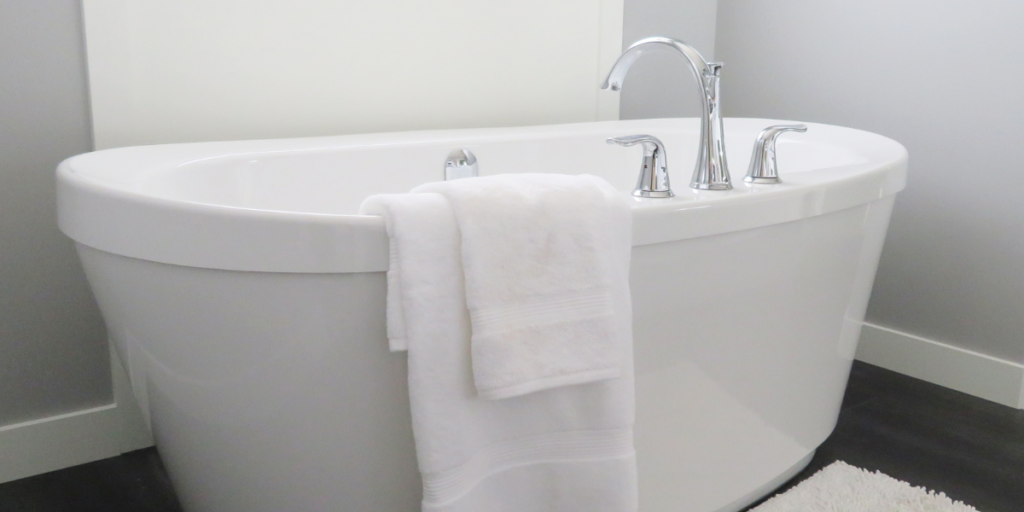
The tub holds dye along its curves, where splashes pool and slide. For a white or light tub, hydrogen peroxide became my closest helper.
The kind sold for home use is gentle, which is exactly why it suits this job. In fact, standard household hydrogen peroxide is only a 3 percent solution, meaning it is mostly water, as noted by the United States National Library of Medicine.
I soaked a cloth or a few cotton pads in peroxide, laid them flat over the stained streaks, and left them to sit while I cleaned elsewhere. When I came back, most of the dye wiped away with light pressure.
For any thin smears that resisted, a cloth dampened with rubbing alcohol, wiped in one direction rather than scrubbed, lifted the rest. I always followed with a plain water rinse so the tub felt clean rather than slick.
Clearing Dye From Wall Tiles and Grout
Glazed wall tiles behave a lot like the sink. A baking soda paste, left briefly and then wiped in circles, took the dye off the smooth tile faces without much effort.
Grout was the patient’s part. Those pale lines are porous and drink up black dye quickly. I dipped an old soft toothbrush into hydrogen peroxide and worked along each stained line gently, then let it sit before wiping. It took two passes in places, and that was fine.
I resisted the urge to press hard on the grout, since aggressive scrubbing can wear it down over time. Repetition, not pressure, was what slowly returned the lines closer to their original shade.
Treating Dye on the Countertop
Counters are where matching the ingredient to the material really matters, because not every surface likes the same treatment. On a laminate or sealed synthetic counter, a cloth with a little rubbing alcohol lifts fresh dye smears cleanly.
If your counter is natural stone, such as marble or granite, this is the one place I would steer you away from vinegar and even hydrogen peroxide. Acids and strong oxidizers can dull or etch stone.
Instead, I used only mild dish soap and water, dabbing patiently, and accepted that stone sometimes needs a proper stone-safe product for the very last trace.
Whatever the material, I tested a hidden corner first. A small patch near the back tells you in seconds whether a cleaner is safe before you ever touch the visible top.
Getting Dye Off the Floor
Floors collect the drips you do not notice until later. On vinyl or sealed tile flooring, I began with a baking soda paste over each spot, then added a small splash of white vinegar on top of the baking soda for the darker marks.
For the grout between floor tiles, I went back to the soft toothbrush and a little hydrogen peroxide, the same patient routine that worked on the walls. On vinyl, a cloth with rubbing alcohol cleared any final smudge. I finished by mopping with plain water, since this is a floor people walk on barefoot.
Matching the Right Ingredient to Each Surface Safely
After living through the whole cleanup, a simple map formed in my head. Glazed sinks, tubs, and tiles may respond well to baking soda first, followed by hydrogen peroxide for any remaining shadows. Grout likes hydrogen peroxide and a soft brush. Laminate counters and vinyl floors may tolerate rubbing alcohol, while natural stone requires only mild soap and gentle care.
A few safety habits kept everything calm. I never sealed hydrogen peroxide and vinegar together in a closed container, and I never mixed cleaners, hoping for a stronger result, since combining household products can create fumes you do not want. I kept a window open or the fan running for airflow.
Because rubbing alcohol is flammable, I kept it away from candles or any flame, and I wore gloves throughout. Most of all, I leaned on gentle, repeated passes. Several light rounds were kinder to every surface than one hard scrub, and the dye still came up.
A Calmer Way to Look at the Mess
When the last shadow finally lifted, what stayed with me was not the cleaning trick but the feeling of the panic draining away. A splattered bathroom feels like a disaster in the moment, yet it is almost always just a surface waiting for a little patience. I was harder on myself than the dye ever was on the tiles, and learning to slow down was what let the whole room come back without a fight.
Try This Today
Keep a small box of baking soda and a bottle of hydrogen peroxide near where you dye your hair. A quick wipe before the next splash settles can save you the whole cleanup later.
Common Questions About Black Dye on Bathroom Surfaces
Is hydrogen peroxide safe on every bathroom surface?
It suits white or light glazed surfaces and grout best. On colored finishes, it can occasionally lighten the surface itself, and on natural stone, it is better avoided. Testing a hidden spot first is the safe way to find out.
Can rubbing alcohol damage a bathroom surface?
On sealed laminate and vinyl, it tends to be fine when wiped lightly. On painted, glossy, or stone surfaces, it can dull the finish, so a quick test in a corner first is worth the few seconds it takes.
What if the dye has already dried and set?
Set dye is harder, but rarely hopeless. Layering a baking soda paste or a peroxide-soaked cloth, letting it sit longer, then wiping gently and repeating, often fades it gradually. Patience usually does what force cannot.
Is it better to mix these ingredients for a stronger cleaner?
I would not. Used one at a time, each is simple and predictable. Mixing them can produce fumes or unexpected reactions, and it rarely cleans any better, so a single ingredient at a time stayed both safer and effective for me.

- How to Dye Your Hair Purple at Home (and Actually Keep the Color) - June 22, 2026
- Cool Hair Dye Ideas for Short Hair That Actually Look Stunning - June 11, 2026
- Cool Hair Dye Ideas That Actually Suit Real Life and Real Hair - June 9, 2026